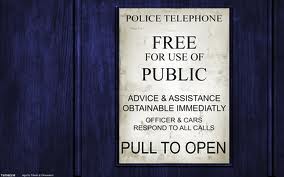
Although the Tardis looks like a simple box, in detail it is far from that. There are many borders and layers that result from the many doors, steps and chamfers. Sorting out how to achieve this appearance by layering other structures on the basic plywood box structure takes some forethought. Then one must decide which Doctor’s Tardis you wish to make. There are a few slight differences in the outward appearances particularly in the modern series.


This is the one belonging to the Doctor played by Matt Smith and it is the one I made. Most easily distinguished by the St John Ambulance sticker on the front door.

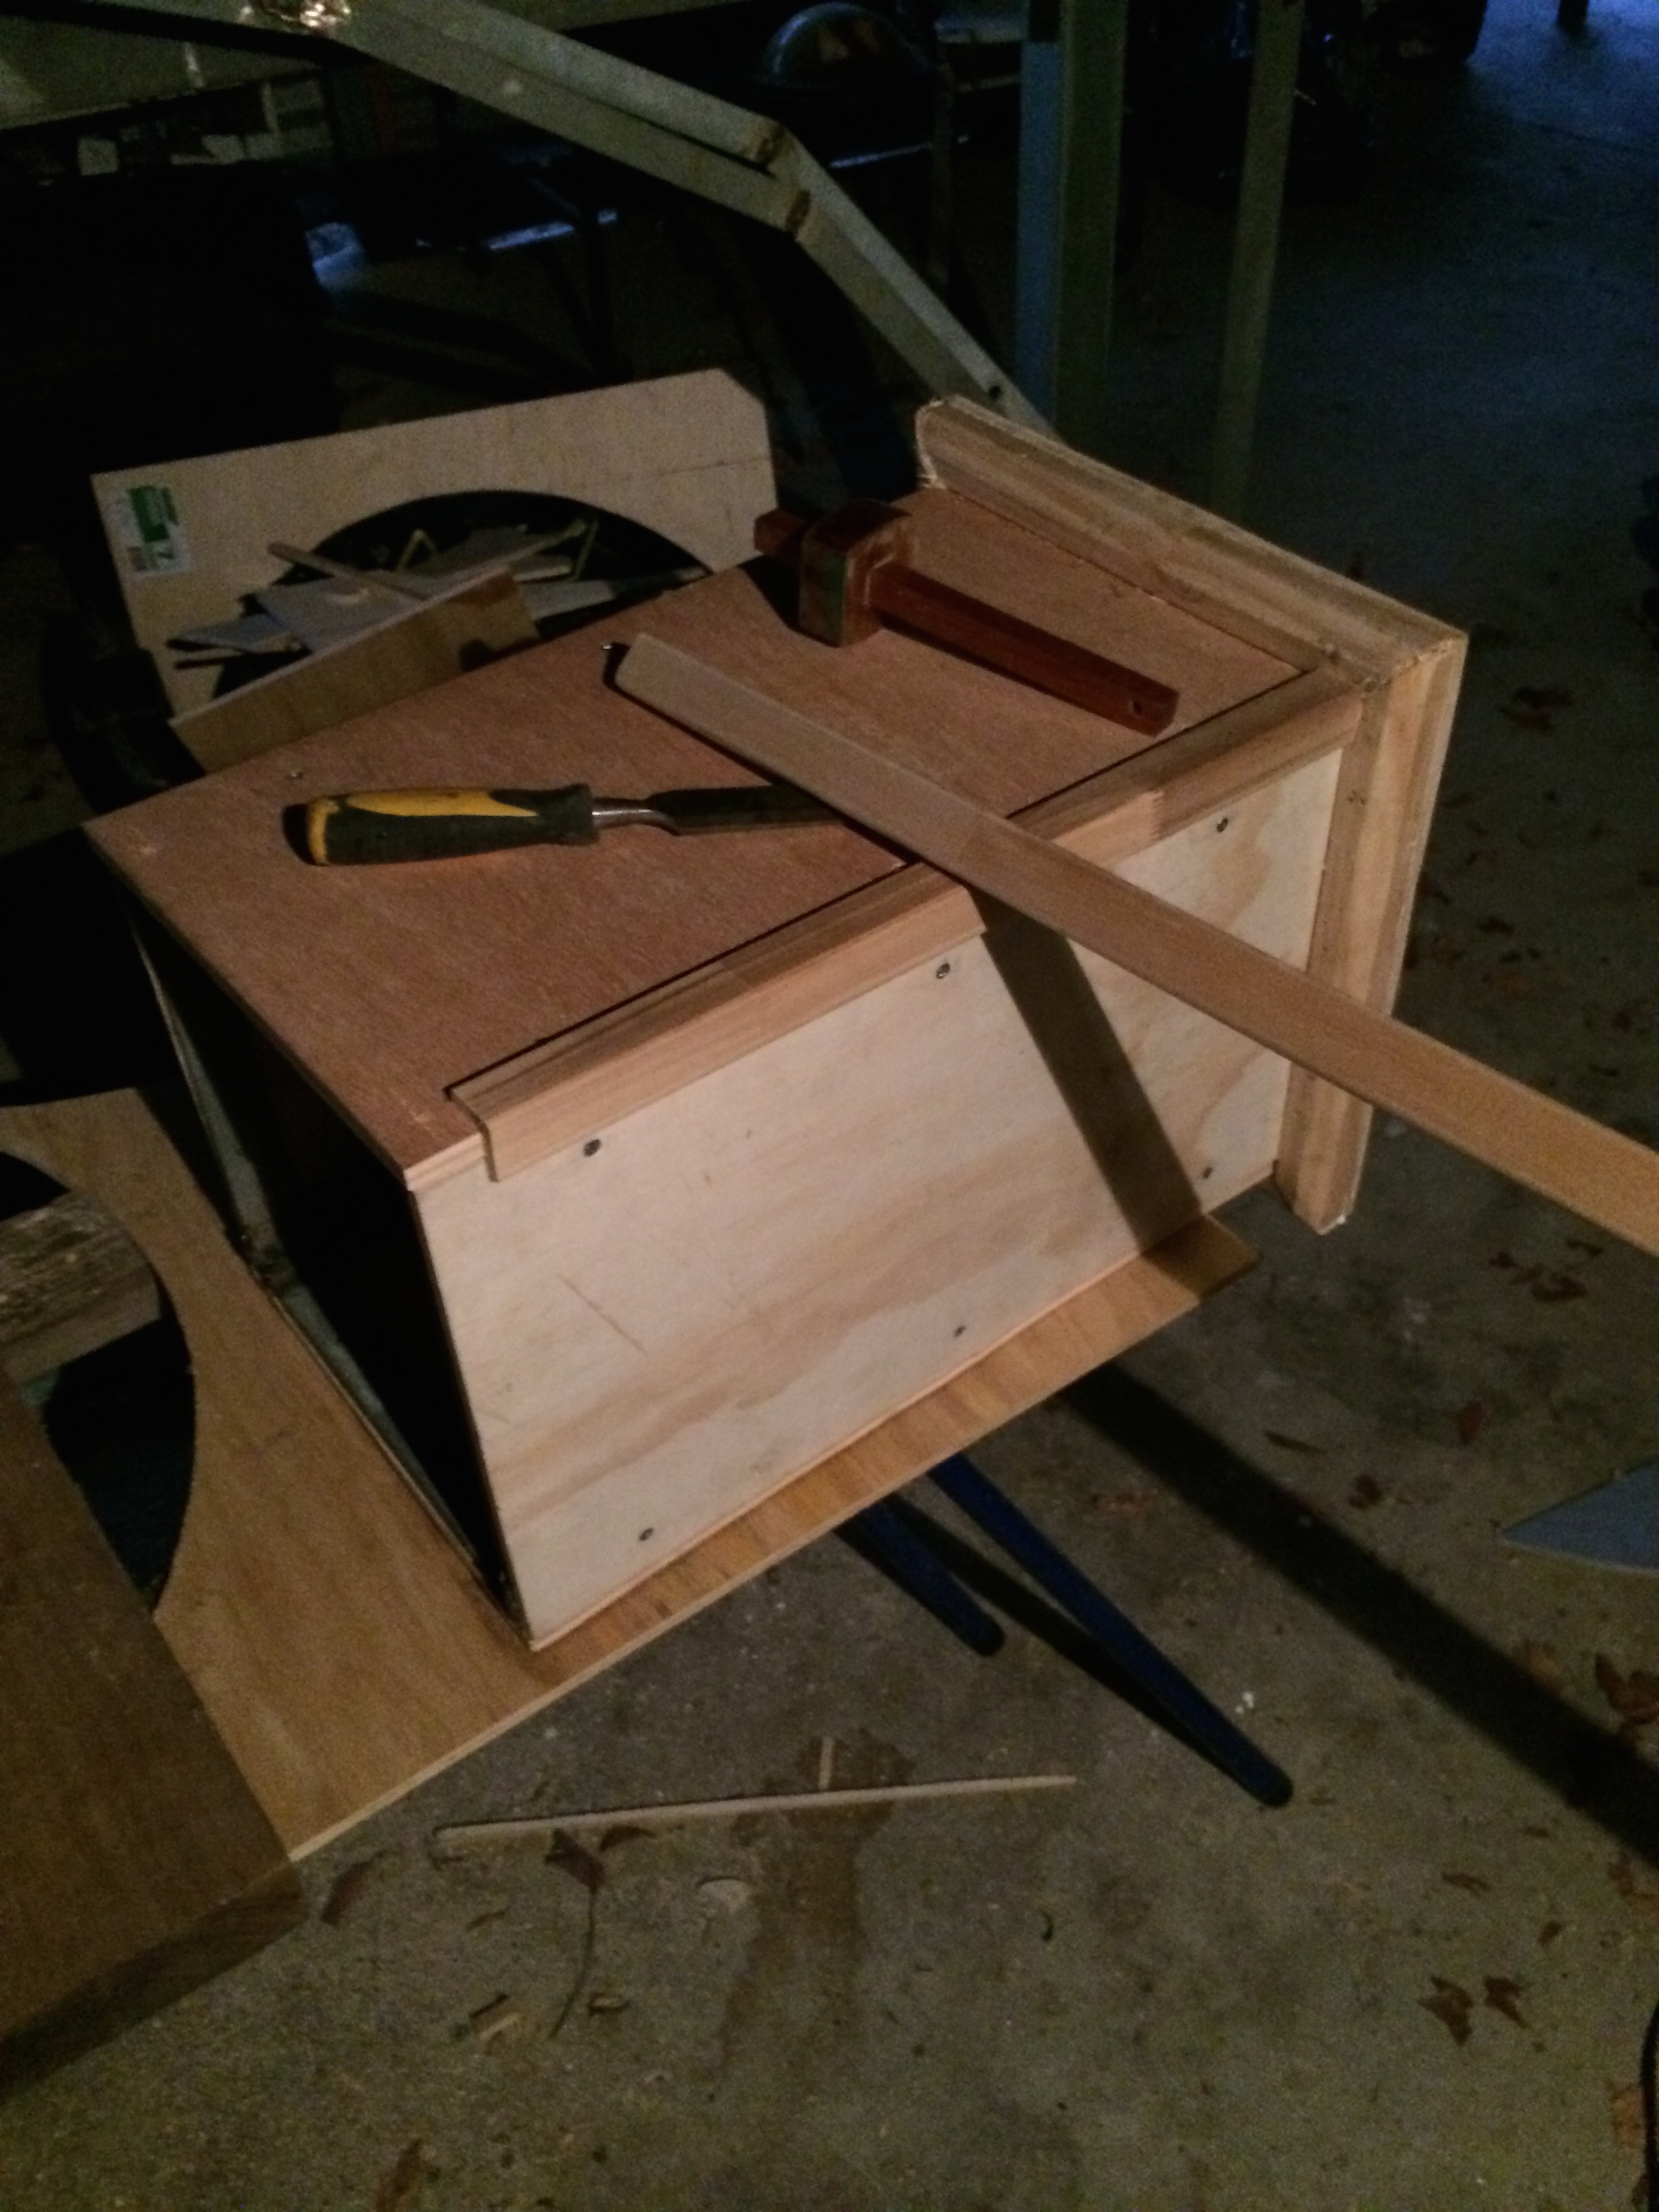
The original intent of this project was to create a letter box.It was a gift for my daughter who has decided to keep it in her bedroom. The structure had to be strong and resilient enough to withstand the vicissitudes of of climate and jealous neighbours or passers by. I started by welding a steel frame from 25 mm angle and flat bar. I the affixed 11mm exterior plywood to the sides and base withe 6 mm countersunk bots. I pre-drilled the frame to take the bolts and allow for mounting through the frame at the base.


Once the sides were attached I affixed the base and the bottom chamfer. I used a 25 mm square moulding and took off a 45 degree chamfer mitring the corners. I used 25 mm angle moulding to create the side borders. all extra moulding and panels were glued with external PVA glue and small counter sunk wood screws.


Pieces of 10 x 40 mm pine board were used to make the signage at the top. These needed to be positioned so that a mail slot could be cut in the front wall panel which needs to be low enough to fit beneath the inside top steel bar. A helpful hint is to cut the slot first then put on the sign boards. Another piece of 12mm plywood forms the base of the lid structure which is attached with galvanised hinges to the rear wall panel. I placed and screwed the hinges internally for neatness and security incase the lid was to be padlocked at any stage

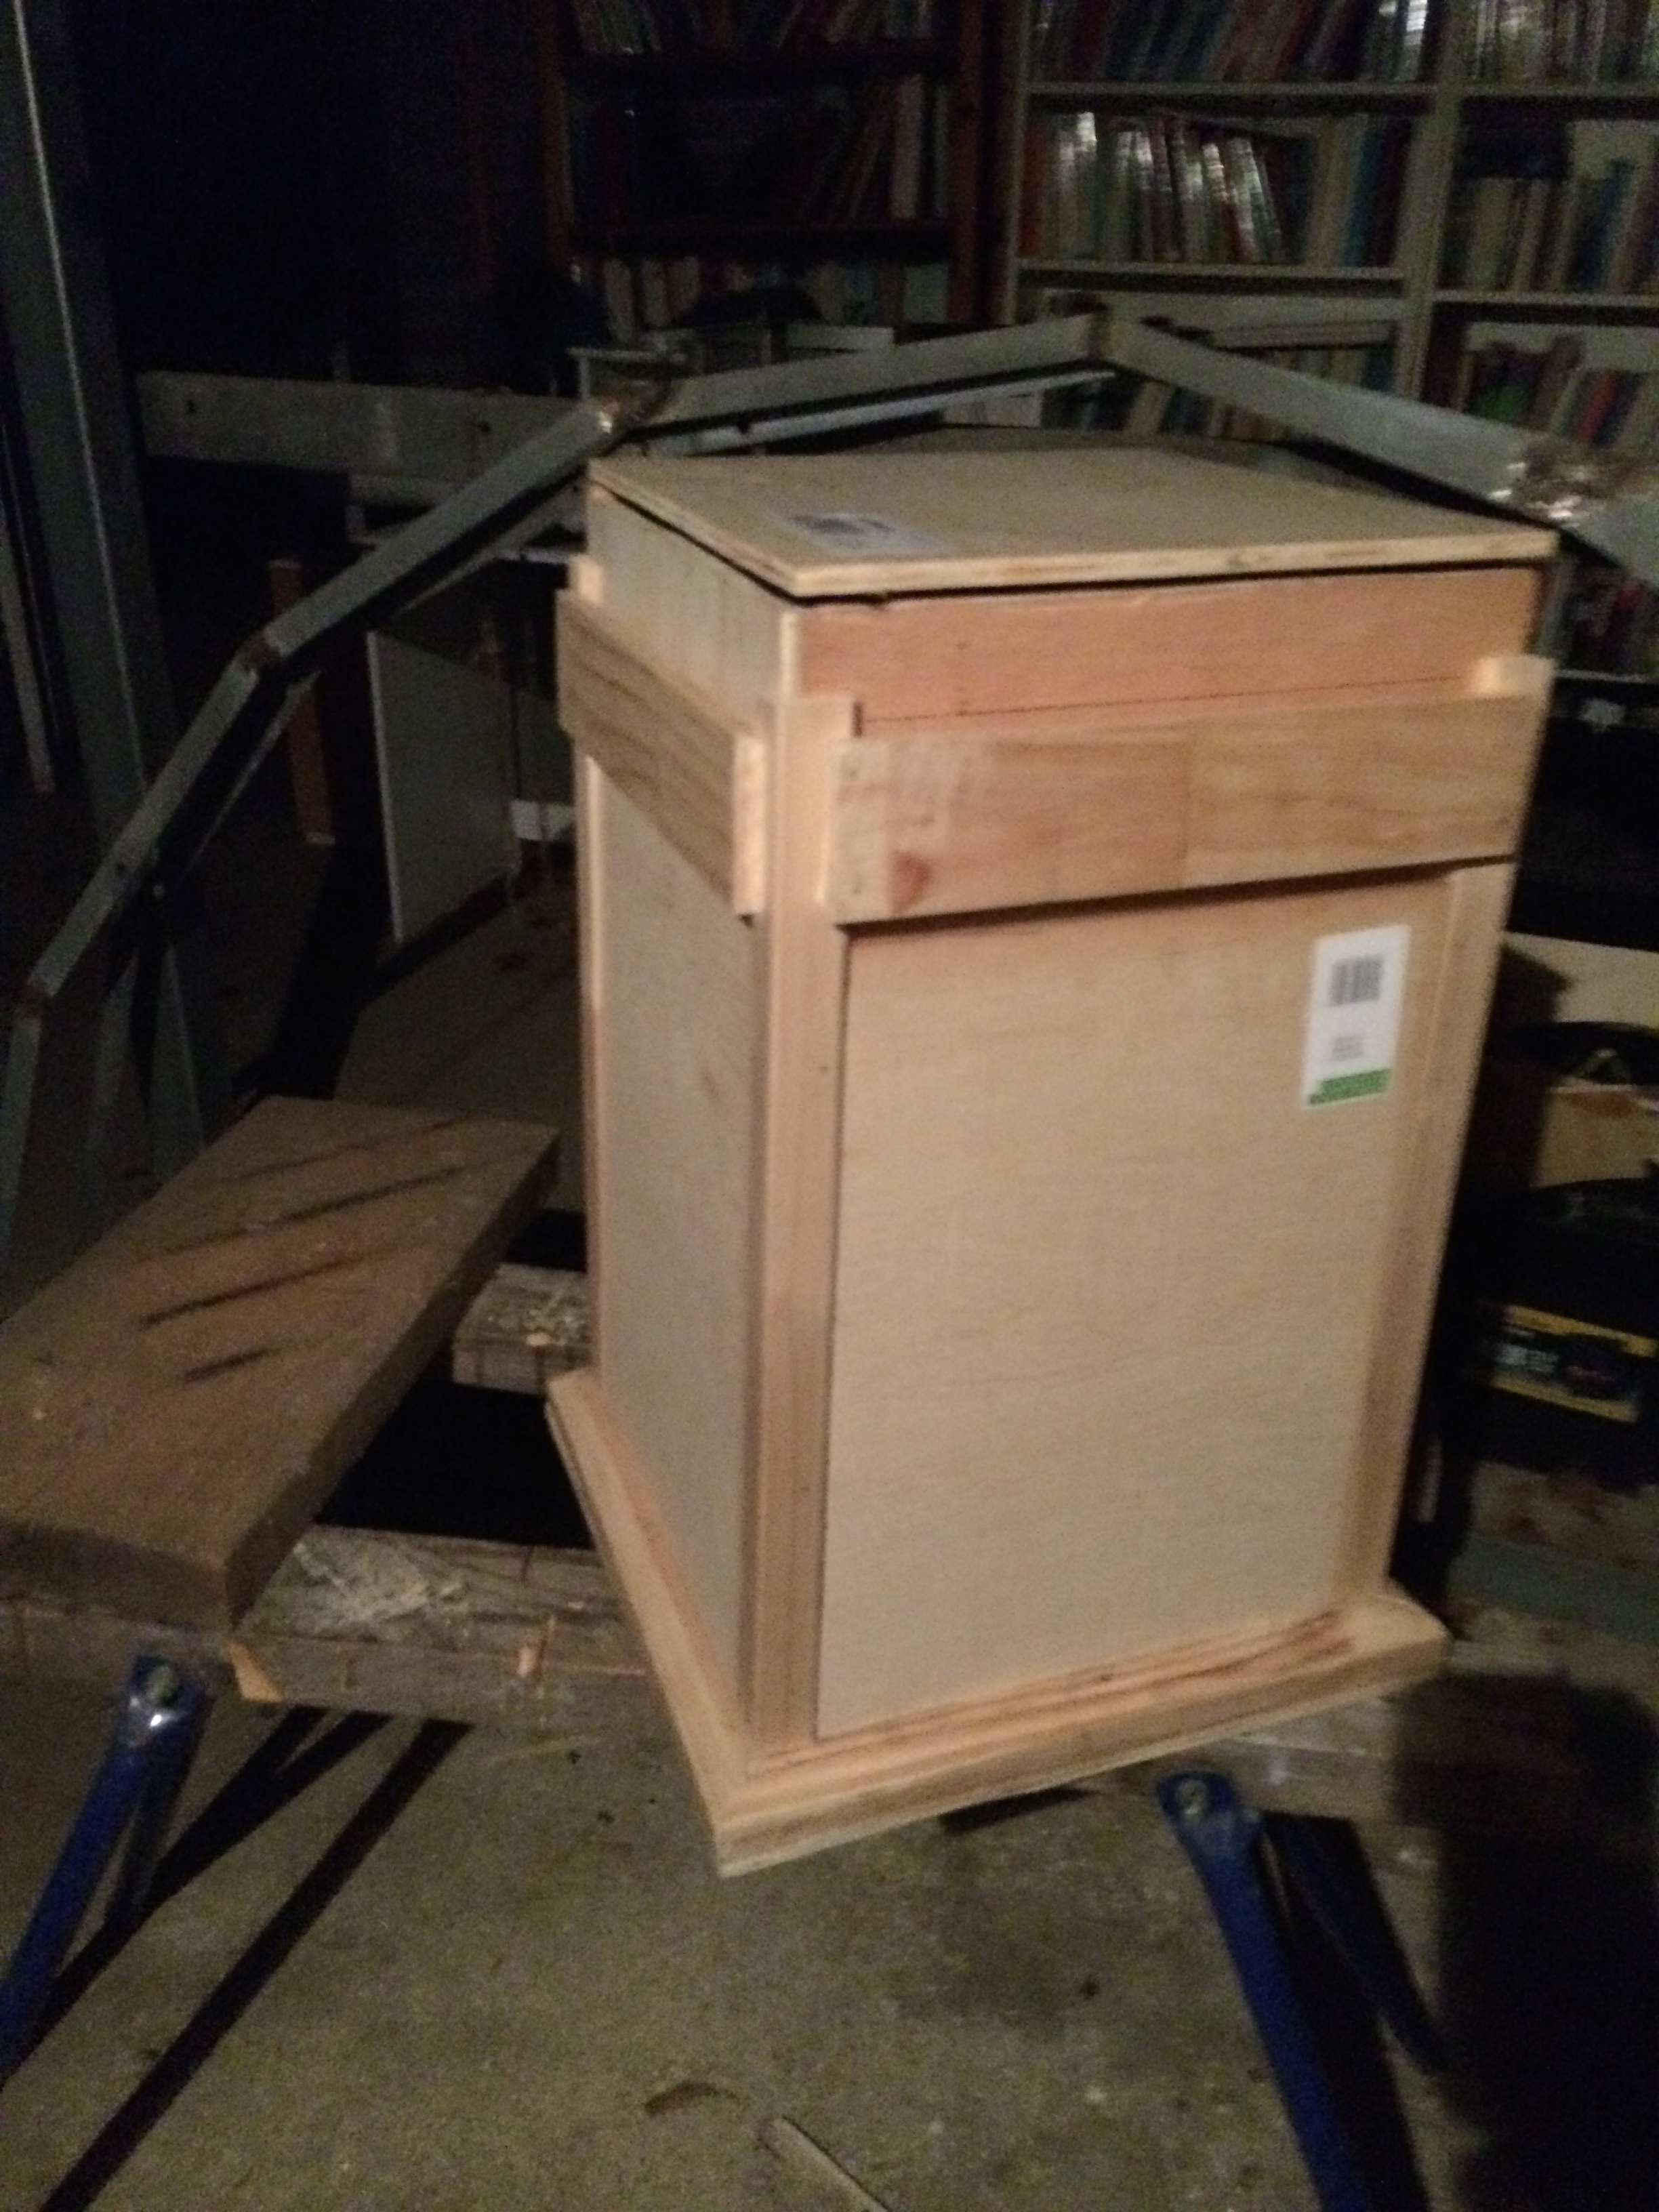
for the angled peak roof two pieces of 150 x 20mm pine were glued to a square piece of 9 mm plywood. This ply was cut 10 mm smaller than the lid base to provide a step up present in the roof of the actual Tardis. The 4 way angle of the peaked roof was made using a belt sander and a the whole assembly was the glued to the hinged lid base.


To finish the lid 10 mm beading was glued around the ply wood raised portion of the roof. A small LED torch was mounted inside the lid in a wooden block to provide the roof light. The top of a plastic syringe and some blue cellophane made the external part or the light and the characteristic blue light.


The doors and panelling were very time consuming holes were cut in 3 mm ply panels. These were glued to each side and bordered with 12 mm flat beading.

Painting and finishing with external signs and fixtures was next. I used gloss enamel paint for its weathering characteristics. I chose plain royal blue which is very close to the actual colour. I painted on the window framing, you could use small timber slats but this is more than I had time for. Be carful here because the external signage and the number of window panels changes between the different doctors.
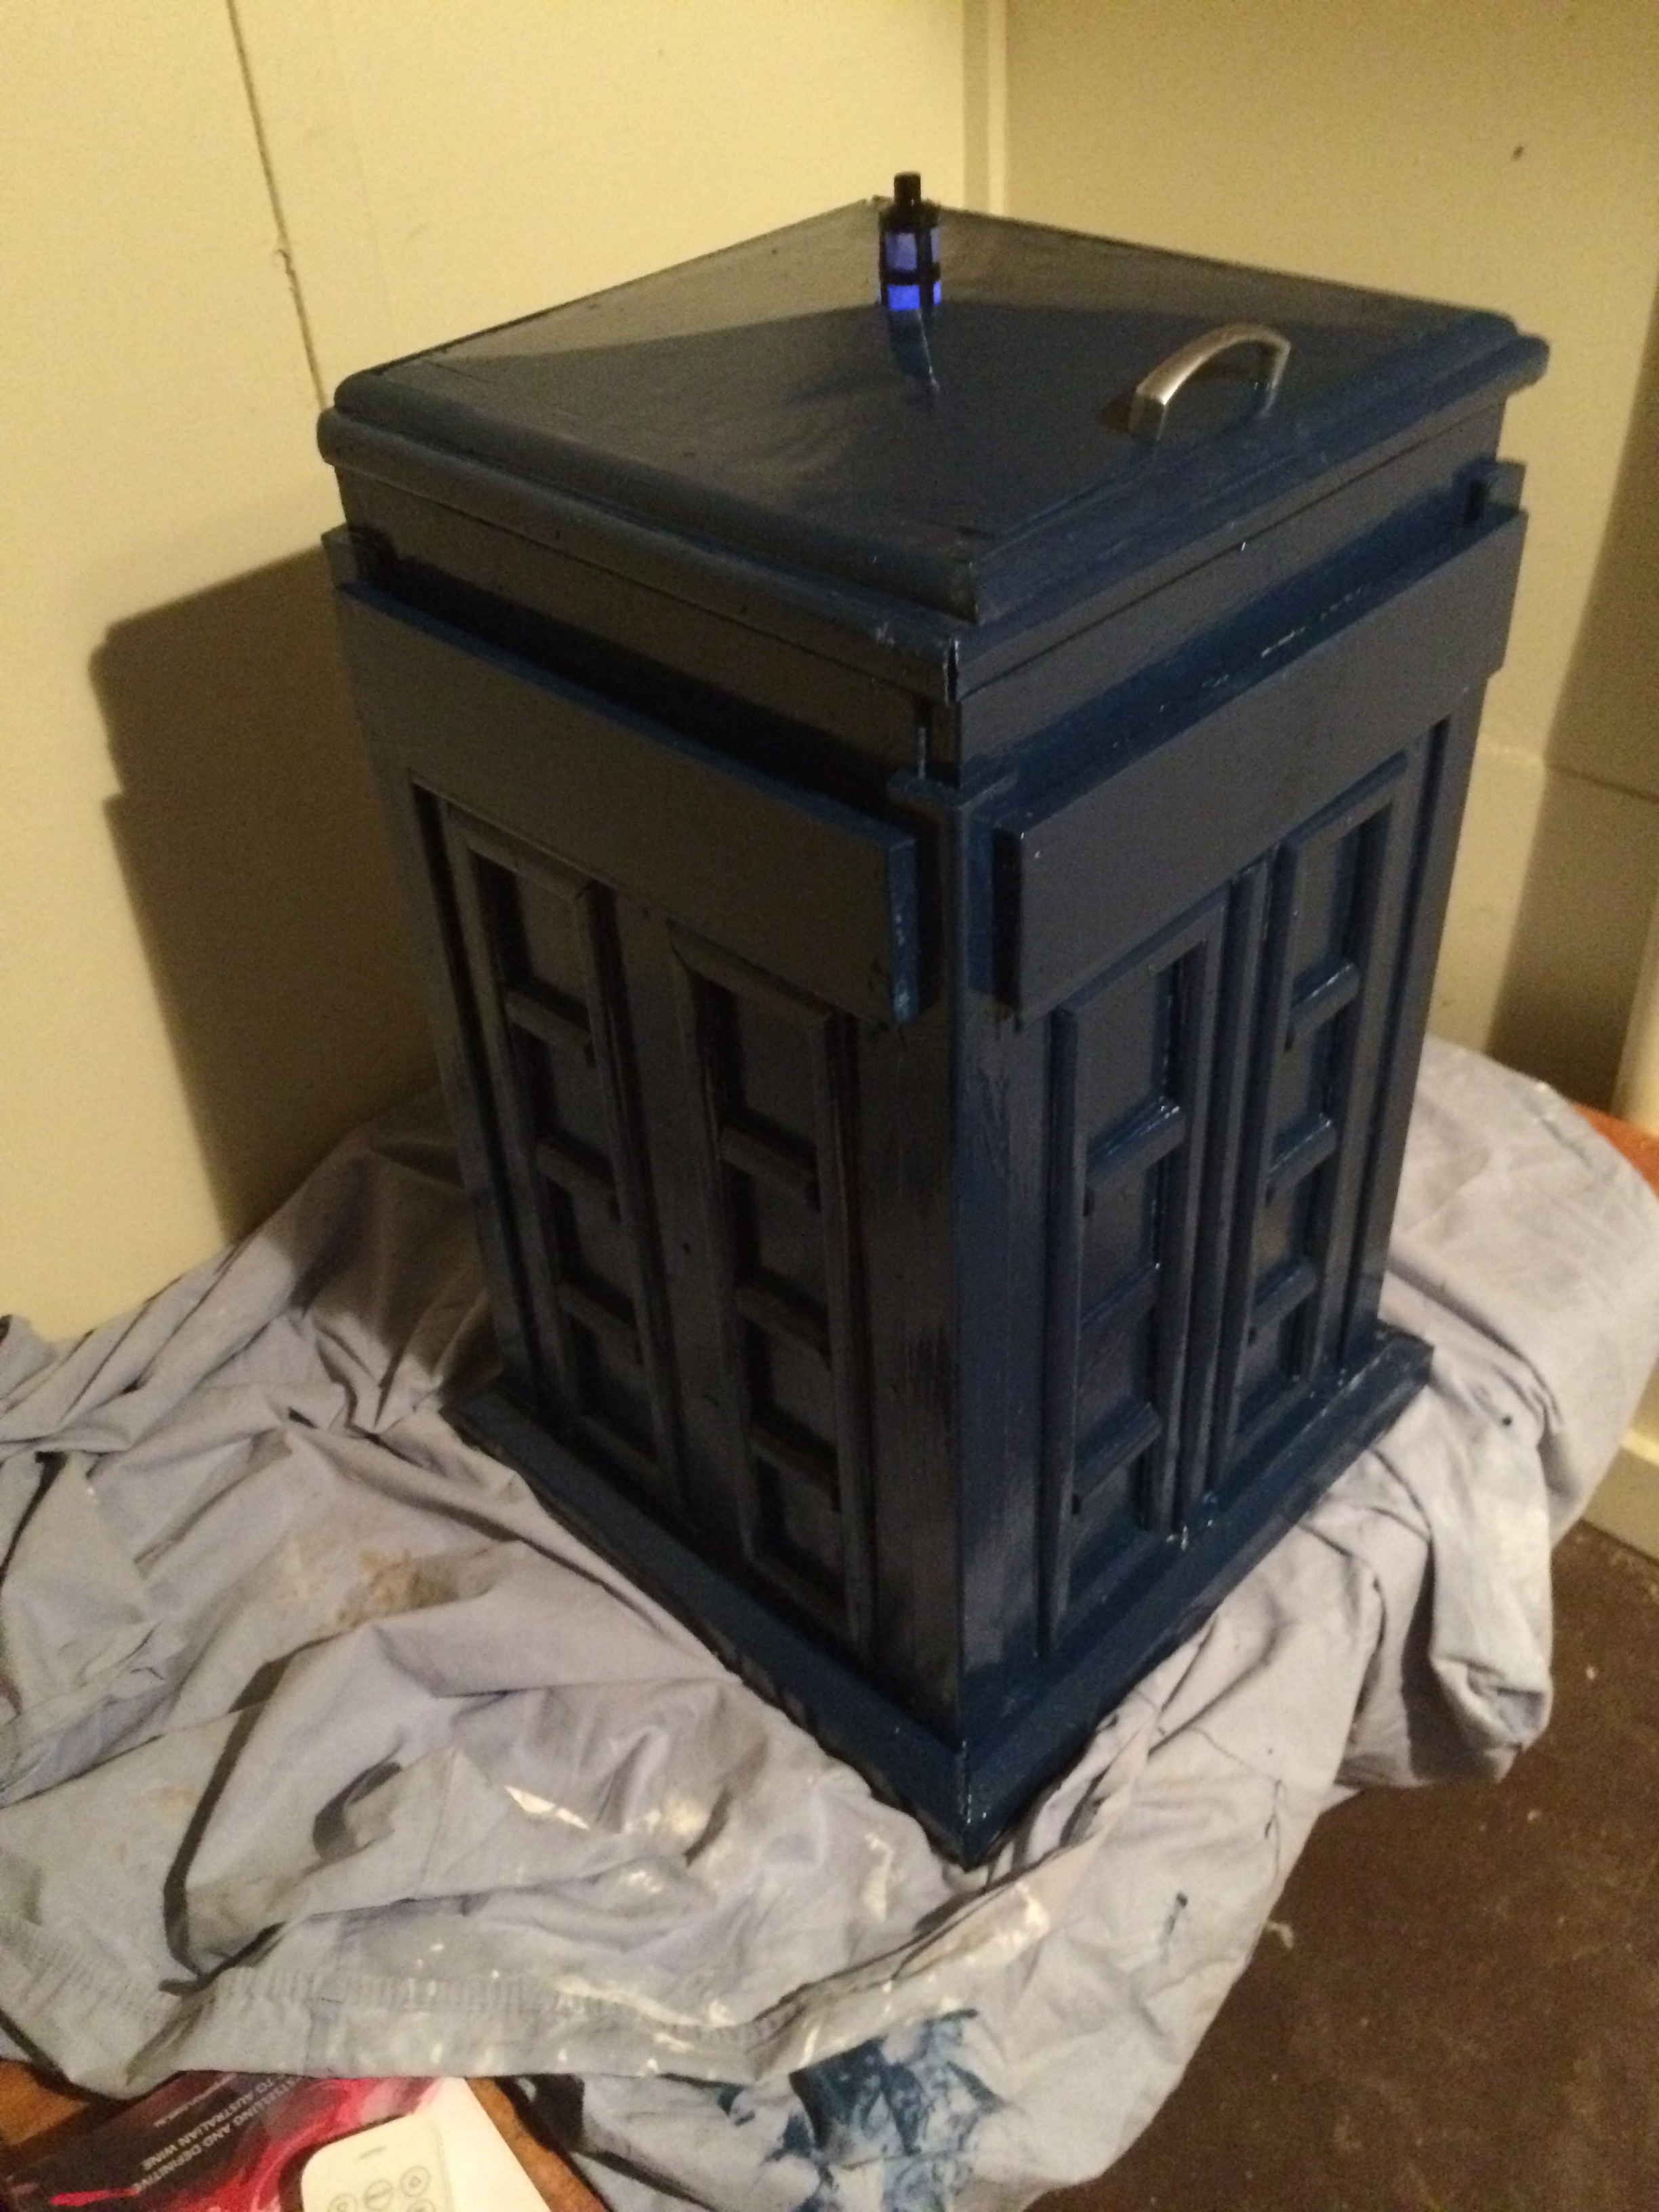


The final letter box as unveiled at my daughter’s birthday party.

